This item has now been replaced by a Nest Thermostat!
As part of our Home Control system, I am currently working on an ESP8266 based WiFi thermostat. It utilises a NodeMCU controller board, a Nextion 3.5″ touch control display and ancillary parts like temperature sensor, relays, PSU, etc.
Having written quite a bit of my own code based on ideas from around the Internet, I came across Tasmota and Espurna which covered most everything I had already done, and substantially more, but I found challenges integrating my own code so stuck with my “simpler” version and borrowed ideas where they fitted.
The thermostat will run completely standalone following the built in schedule set by the programmer using its own temperature sensor, or can be run remotely by connecting into the OpenHab code on the home controller. Remote control, using MQTT over WiFi, allows the controller to use the various temperature sensors around the house for optimum control, and permits remote control via the OpenHab App when away from home.
The Nextion GUI
With default settings, the main display toggles periodically between the current time/date and the main thermostat screen, although this can be set to the thermostat screen only. The icons at the bottom select the page, the selection bar below the icon changes with the page selected, as follows:
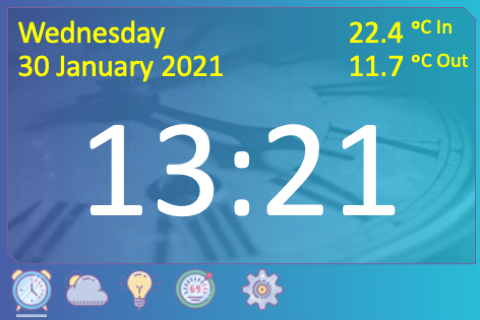
- Clock: current time/date, inside/outside temperatures
- Weather: current weather forecast from UK Met Office (MQTT)
- Lights: on/off for automated lights (MQTT)
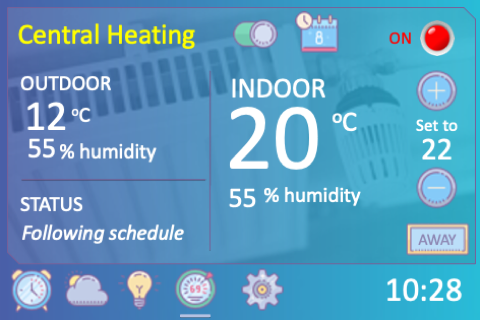
- Central heating: view / set temperature, schedule, etc
- Settings: local/remote, etc (includes system status, version)
The screens were developed in Powerpoint, as it is dead easy to use, and exported as images. The Nextion lets you pick which part of an image is drawn to the screen so changing switch state is simply a matter of drawing the relevant switch image (on or off) accordingly. The images are loaded into the Nextion Editor which compiles them and the C-like code to support the display into a file which is then loaded onto the Nextion display itself.
Clock
Shows the day/date, time, and the inside/outside temperatures.
Internal temperature comes from the thermostat’s own sensor, but the outside temperature reading is only available if updated via MQTT over WiFi from another sensor.
Central Heating
The main thermostat control screen can be set to toggle periodically with the clock screen or set as the primary screen only. The controls include:
- Thermostat On/Off switch
- Calendar icon – selects the Scheduler page (see below)
- LED – lights when heating actually on
- Outdoor temp – if no external sensor feed this section is not shown
- Status – One of “Following schedule” (auto) / “Override” / “Away”
- Indoor temperature – from thermostat’s own sensor
- Current temperature required setting – if +/- buttons pressed sets Override mode which is retained for a configurable length of time (1, 2, 3, or 4 hours)
- Away button – brings up Day/Hour buttons to set an away time when the thermostat will inhibit the schedule, but ensure the temperature does not drop below the Away setting (see scheduler below). The Away button becomes an Auto button which can be used to revert to normal scheduled operation
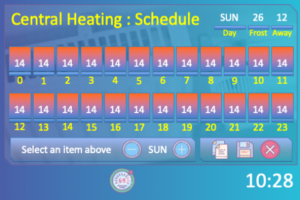
Central Heating Scheduler
I got the principle idea for the scheduler layout from Pete Scargill’s post on his thermostat, and modified it to work in the Nextion. Here you can set the desired temperature for any hour, of any day of the week.
Notes / Resources
- Download the Nextion display masters (PPT) [TODO: update file]
- TODO: link to code for Nextion display
- TODO: link to code for Thermostat


